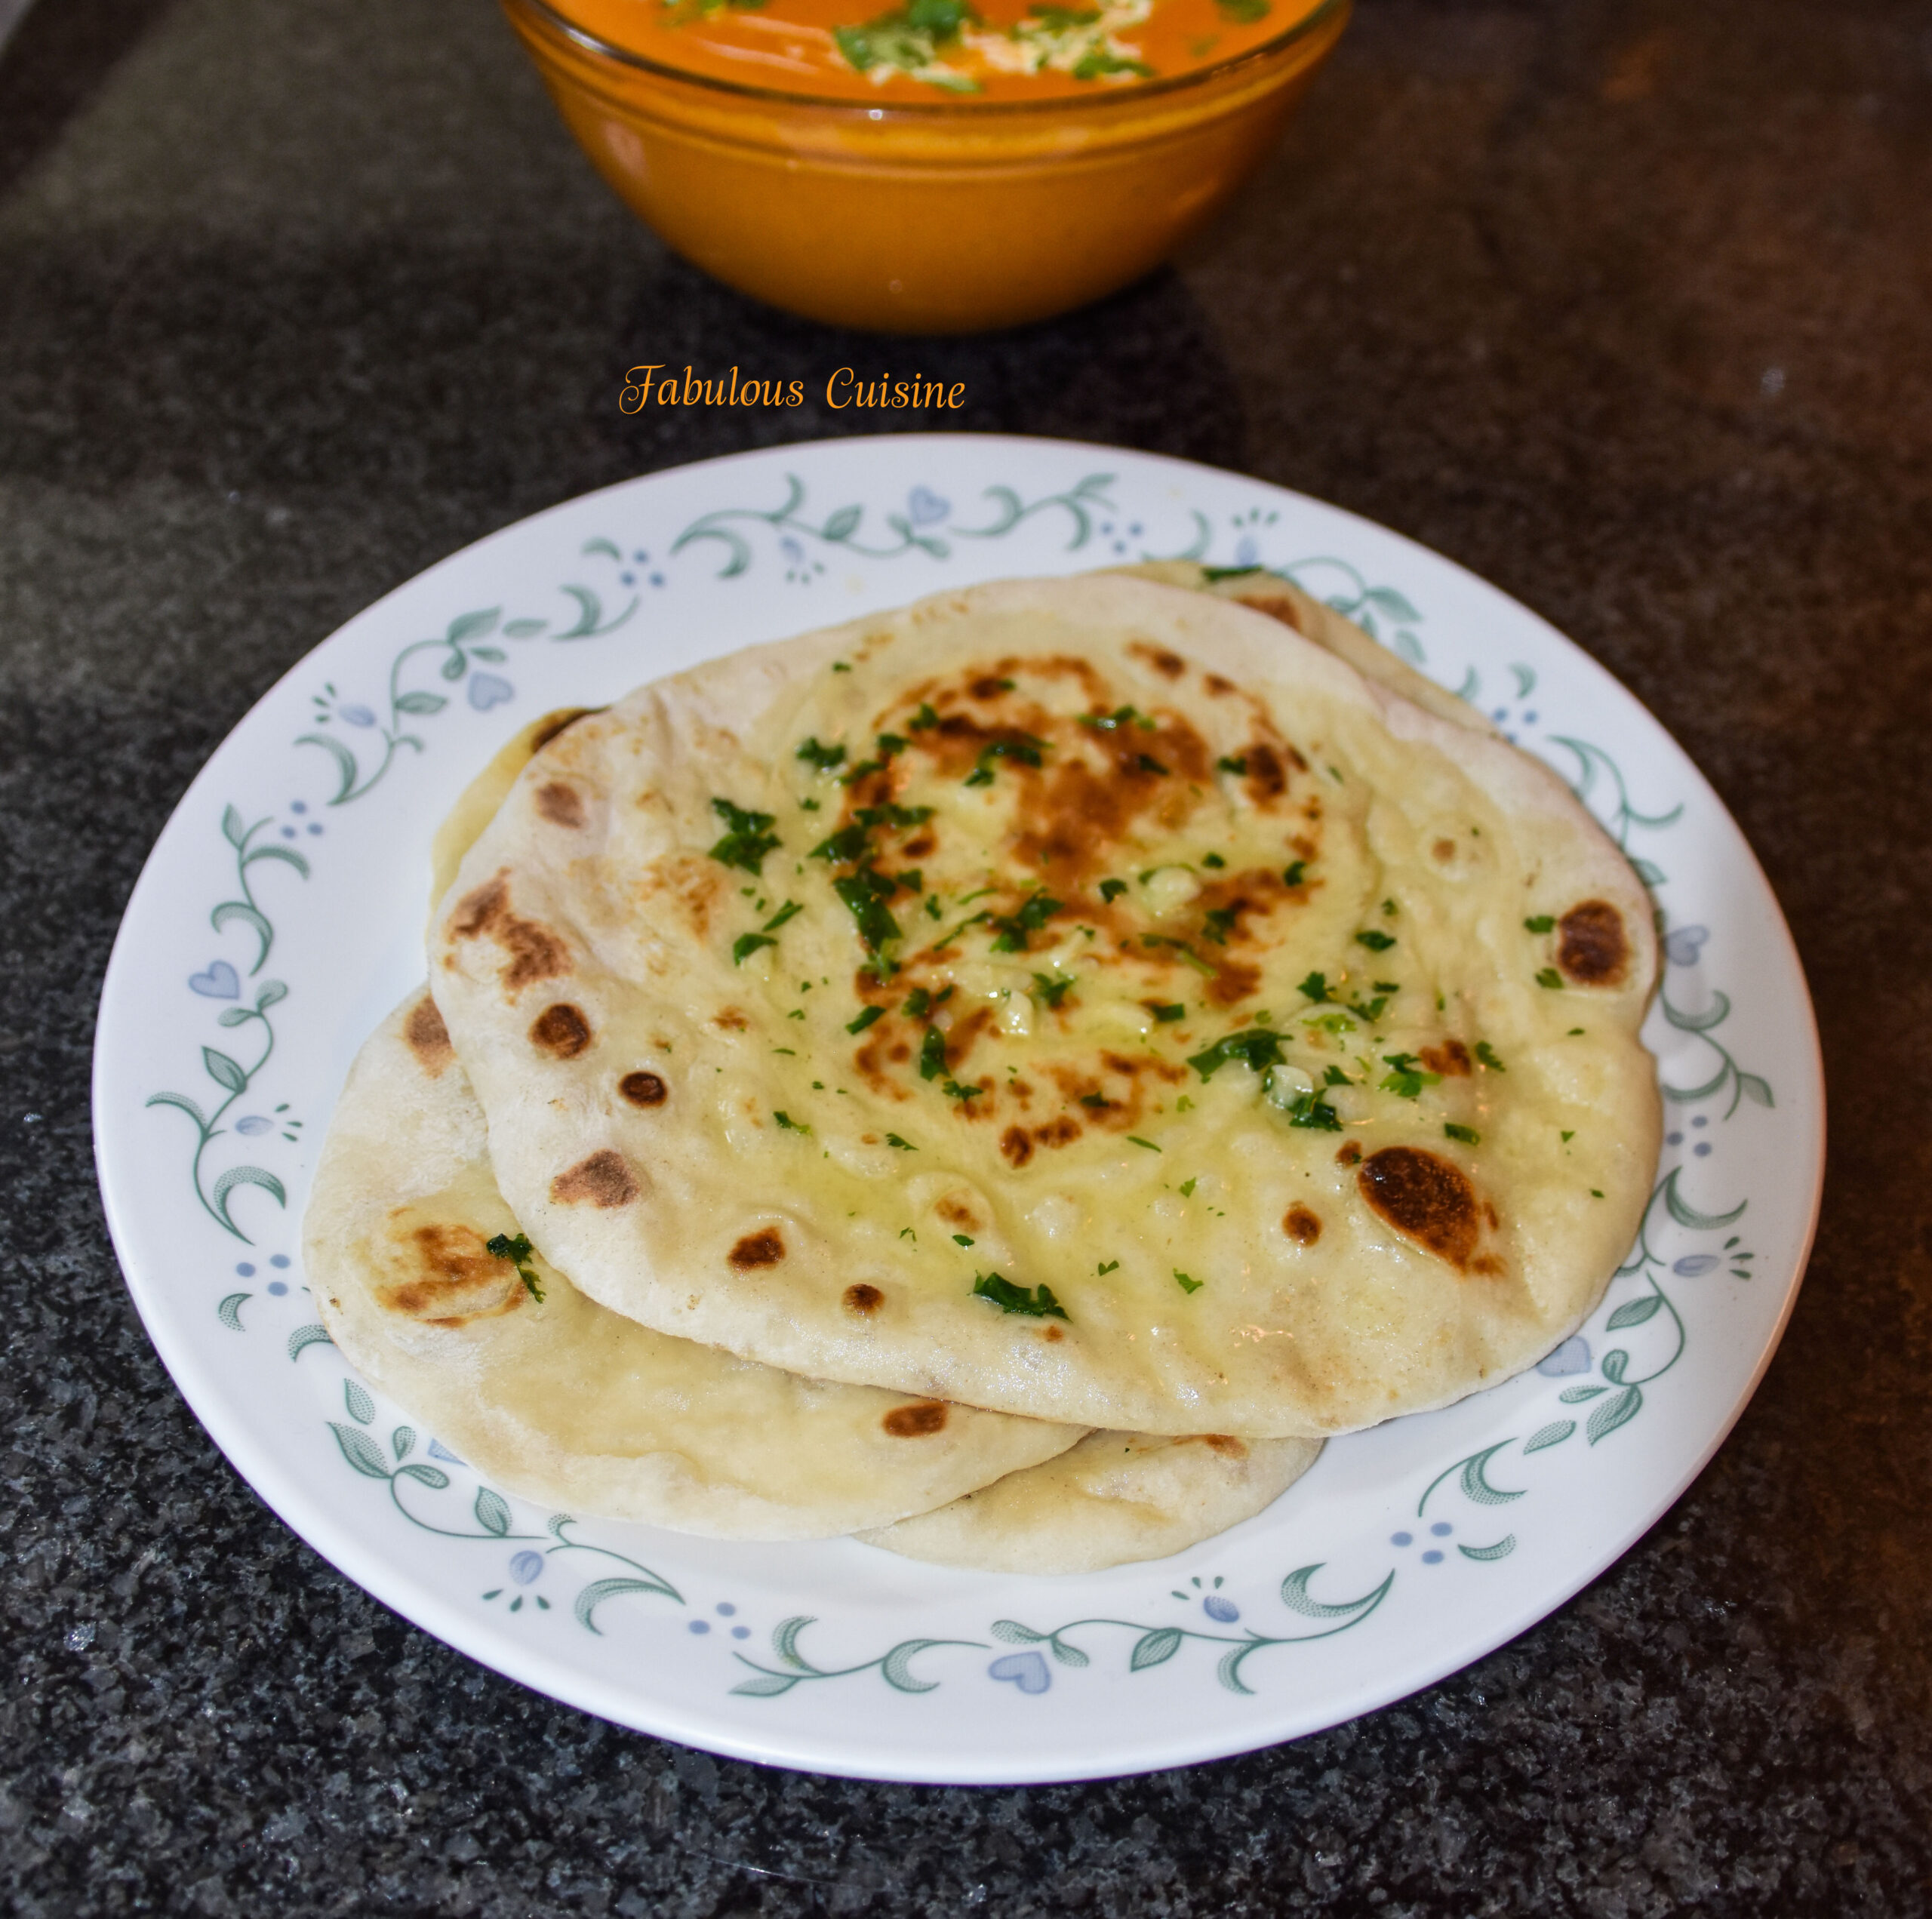
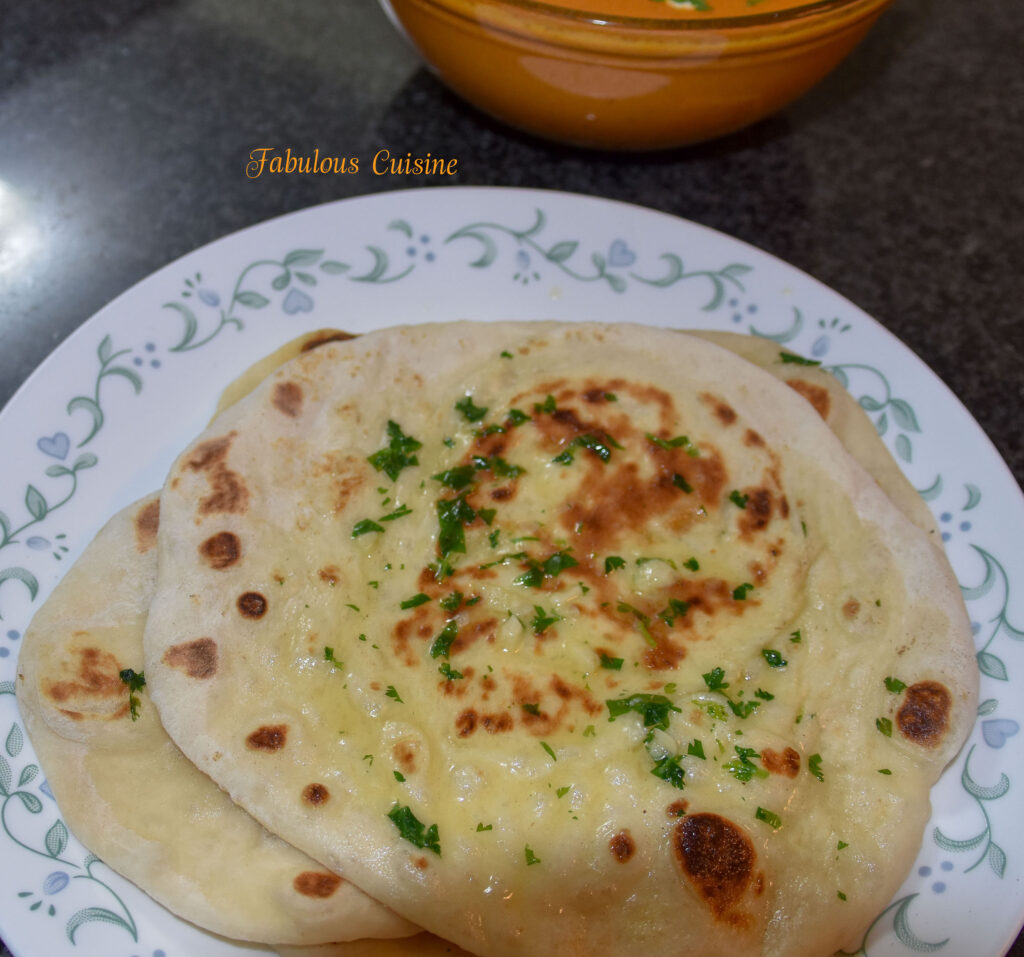
Naan breads are basically Indian flat bread cooked in a Tandoor oven. You can have it as plain naan or can brush the top with butter and enjoy with any curry, butter chicken or Paneer butter masala.
The first time I tasted a naan bread is from a restaurant, and I liked it that instant. So I decided to make it at home even though I don’t know how to. I searched for a recipe that suits with my kitchen and here I am sharing with you the recipe that worked for me. This is a no oven, no tandoor, tawa or pan recipe for those who use electric range/ stove. You will find step by step instruction in the recipe below. It also includes a how to make video.
If you enjoyed watching the recipe video on Garlic Butter Naan, then please subscribe to our YouTube Channel. Also don’t forget to hit the bell button to get notified whenever we uploads a new video. Thank you.
For Paneer Butter Masala Recipe please click the link :
Paneer Butter Masala
Share this Post:
Garlic Naan Bread in Pan/ Tawa
Equipment
- 1 Large mixing bowl
- 1 Rolling Board and Pin
- 1 Cast Iron Pan/ Tawa
Ingredients
- 2 cups All Purpose Flour/ Maida + extra for dusting
- ¾ cup Warm water
- 1 tbsp Yeast
- 2 tsp Sugar
- 1 tsp Salt
- ¼ cup Plain Curd/ Yogurt
- 2 tsp Vegetable Oil
For Garlic Spread :
- ⅓ cup Butter
- 2 – 3 cloves Garlic (finely chopped)
- 2 tbsp Cilantro/ Coriander leaves (finely chopped)
Instructions
- Mix warm water, yeast and sugar in a bowl and proof for 10 minutes.
- Add All-purpose flour/ Maida, Curd, oil and salt into the yeast mix and knead until soft. Apply oil to hands if the dough feels too sticky. Or sprinkle flour little by little while kneading. Knead for another 10 minutes and tuck down the dough. The dough has to be soft and not sticky.
- Dust Flour or apply oil to the sides of the bowl. Then cover the bowl using a damp kitchen cloth or with a plastic wrap. Allow the dough to proof for an hour or 2.
- Once the dough has doubled the size, punch it down and knead for 5 minutes. Divide dough into 6 equal parts using a dough cutter or knife. If using hands to divide the dough, remember to tuck down each balls to seal the ends. Let the dough sit for another 5 minutes.
- In a bowl, mix melted butter, chopped garlic and chopped cilantro together and keep aside.
- Sprinkle some flour on the countertop or on the rolling stone. Roll out each balls to 1/8 inch thick oval or circle. Make sure the sides are in uniform. Roll some finely chopped garlic into it. This will enhance the garlic flavor of the bread after cooking. But this is optional.
- Heat a pan or tawa on medium high. Sprinkle some water on the pan. If the water makes a hissing sound then the pan is hot enough to make the bread.
- Brush some water on one side of the rolled out bread and place the wet side down to the pan. Cook for a minute or until bubbles appear and the other side turns golden brown in color. Then flip and cook for 30 to 40 seconds on the other side pressing the bread a little using a spoon/ spatula.
- Flip again and remove naan from the pan. Cook one naan at a time by repeating the above step.
- Place the cooked bread to a plate and brush the garlic mix on top of the hot naan.
- Serve hot with any curry you like.
Video
Notes
- Punching down the proofed dough allows to release some of the air bubbles produced while rising. Also kneading the punched down dough for a couple of times releases some air bubbles.
- Resting the punched down dough for 5 minutes or more makes the dough easier to roll out or to work with.
- Cast iron pan is also perfect for this recipe.

